My kids have always loved Play-Doh. I remember opening my first container of Play-Doh as a mother, and the smell of it took me straight back to when I was a little girl. Clearly, it was a smell I hadn’t forgotten. You would have thought I was smelling a new perfume, or my favorite candle, I couldn’t get enough of the scent; so many happy memories came rushing back to me. I even pictured all of my cool accessories and remember sitting hours at my parent’s kitchen table creating so many different things. My children have went through quite a few containers of Play-Doh and that’s ok. Some just get old, so we have to replace them, but sometimes, my children create something that they just can’t smoosh up and put back into the container. They want to keep it until it hardens so they have it “forever”. If we do this with every container of Play-Doh, that can get a lil’ pricey!
I just picked up a new 4 pack of Play-Doh when I was at the grocery store this week. Immediately my children wanted to create something. My daughter turned her entire pink container of Play-Doh into a bunch of little animals that she couldn’t part with. I told her if we saved all of their Play-Doh creations, we would not have any left to play with. So we smooshed it up and put it back into the container. I promised her the next day, we would make a “brand new” kind of play dough with 3 ingredients from our kitchen, and she would get to keep those creations forever. I remember making Salt Dough Ornaments as I little girl and I could not wait to wake up the next morning to do it with my children!
Let’s get started with the ingredients:
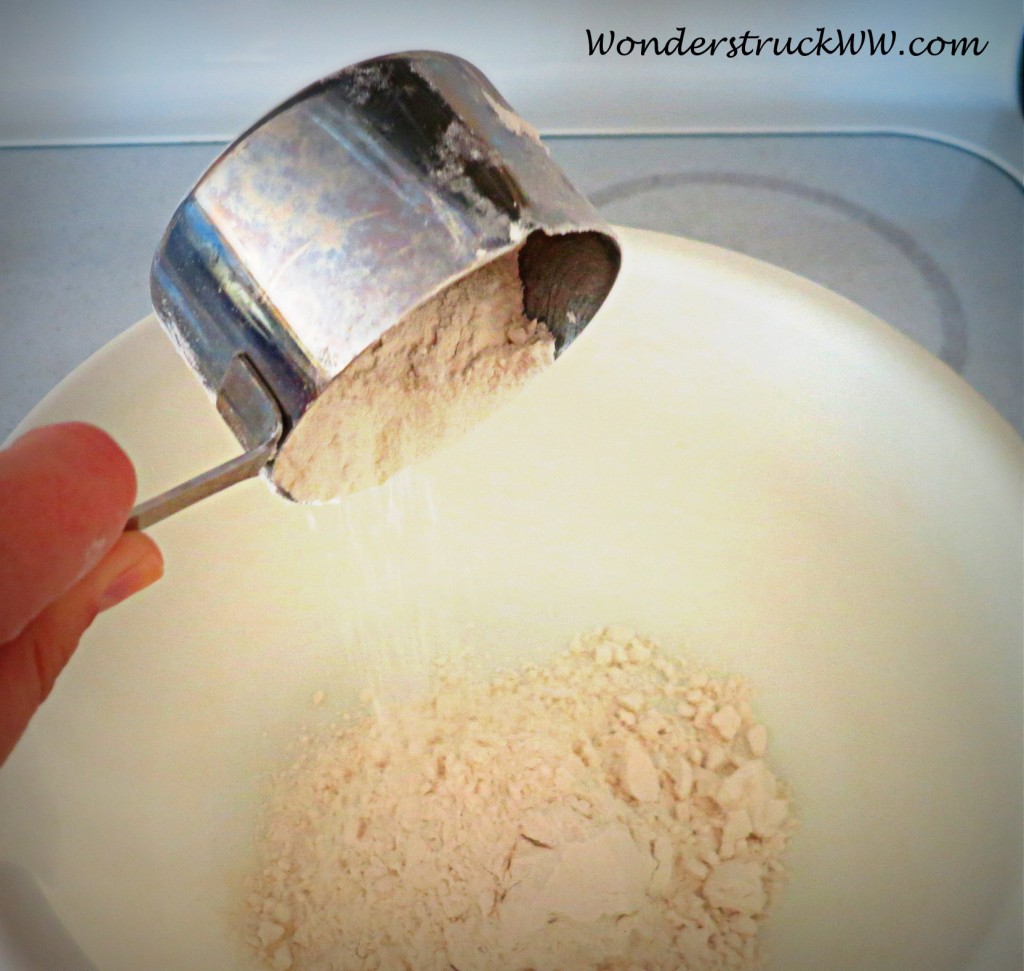
- 2 Cups of Flour
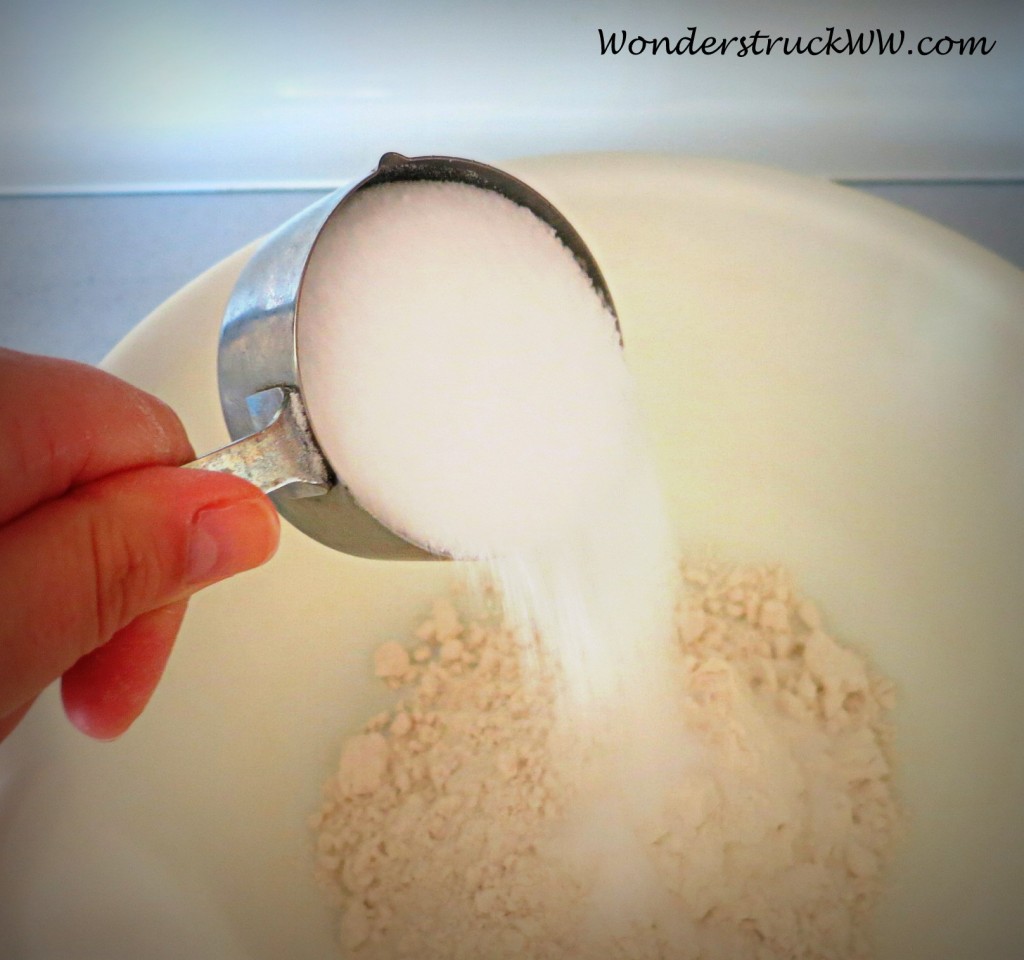
- 1 Cup of Salt
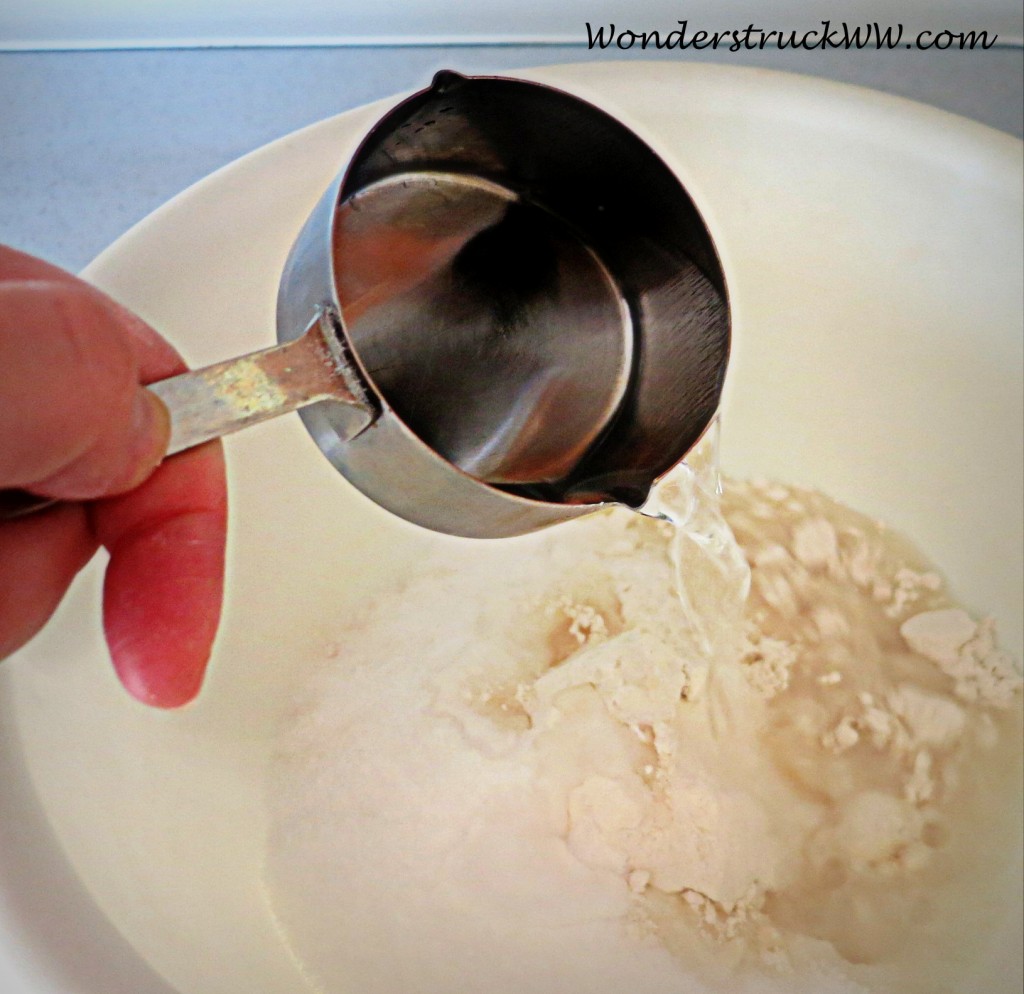
- 1 Cup of Water
The above ingredients were the perfect amount to create enough dough for 2 kids. You can adjust the ingredients to create less or more if needed.
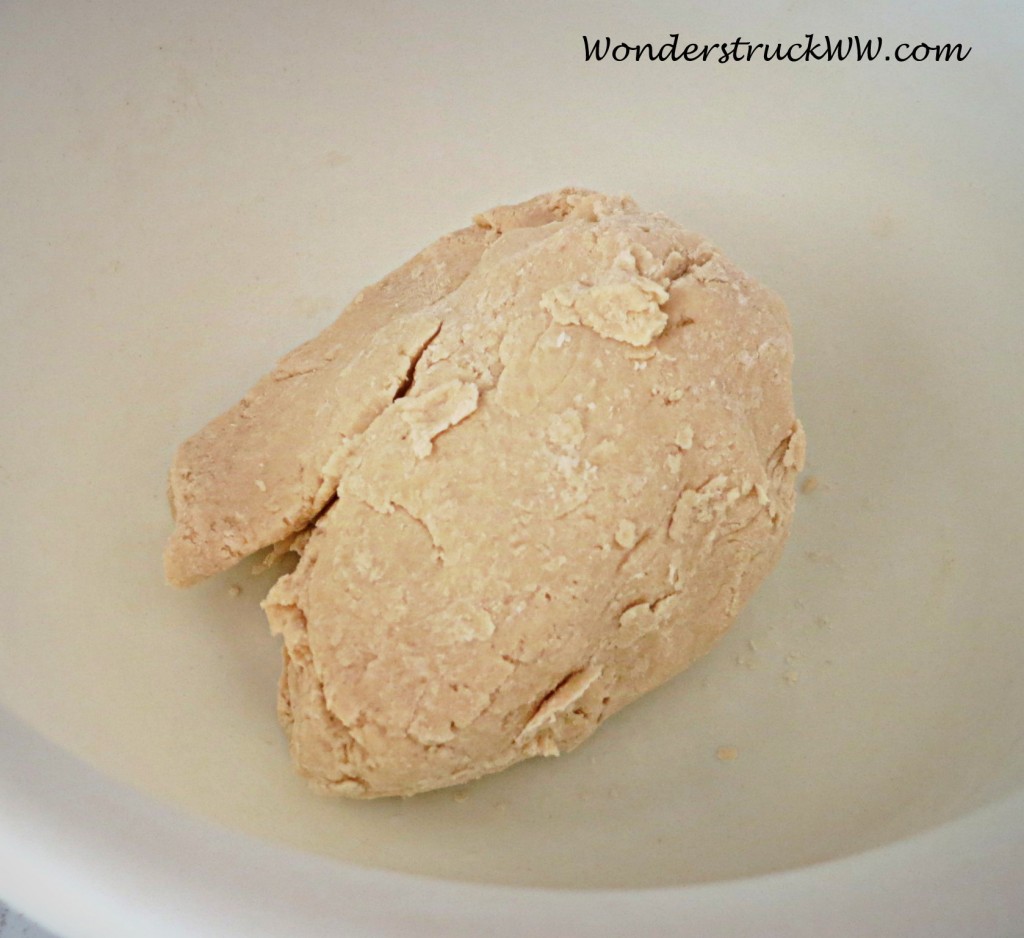
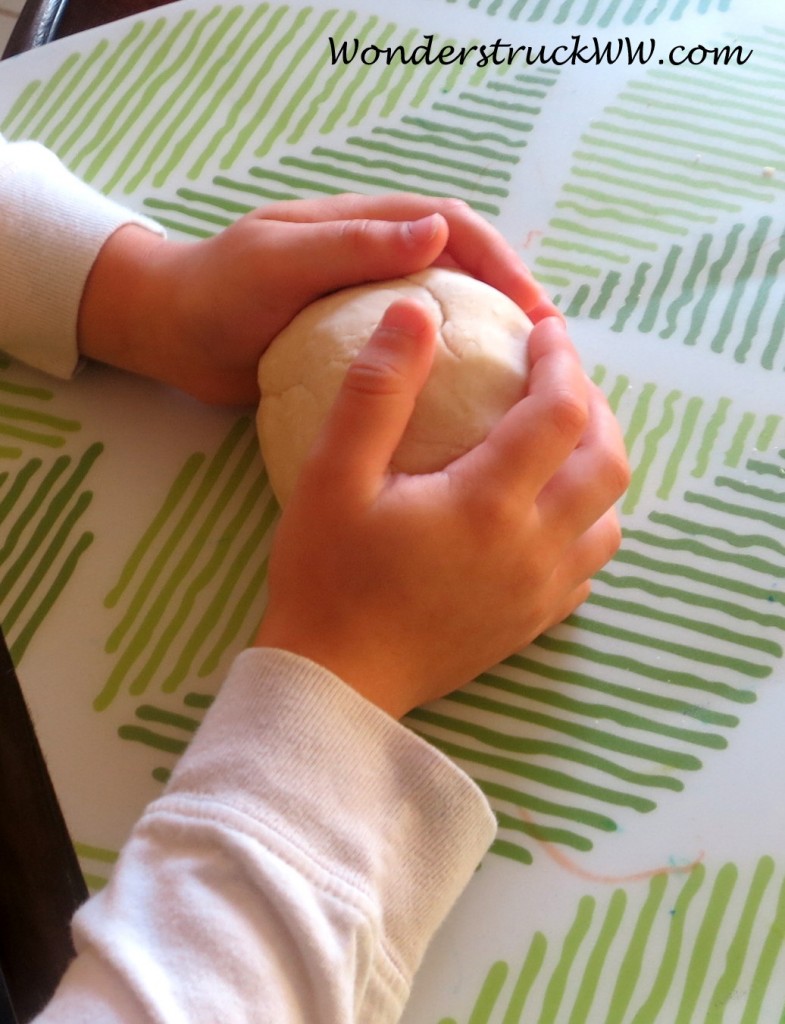
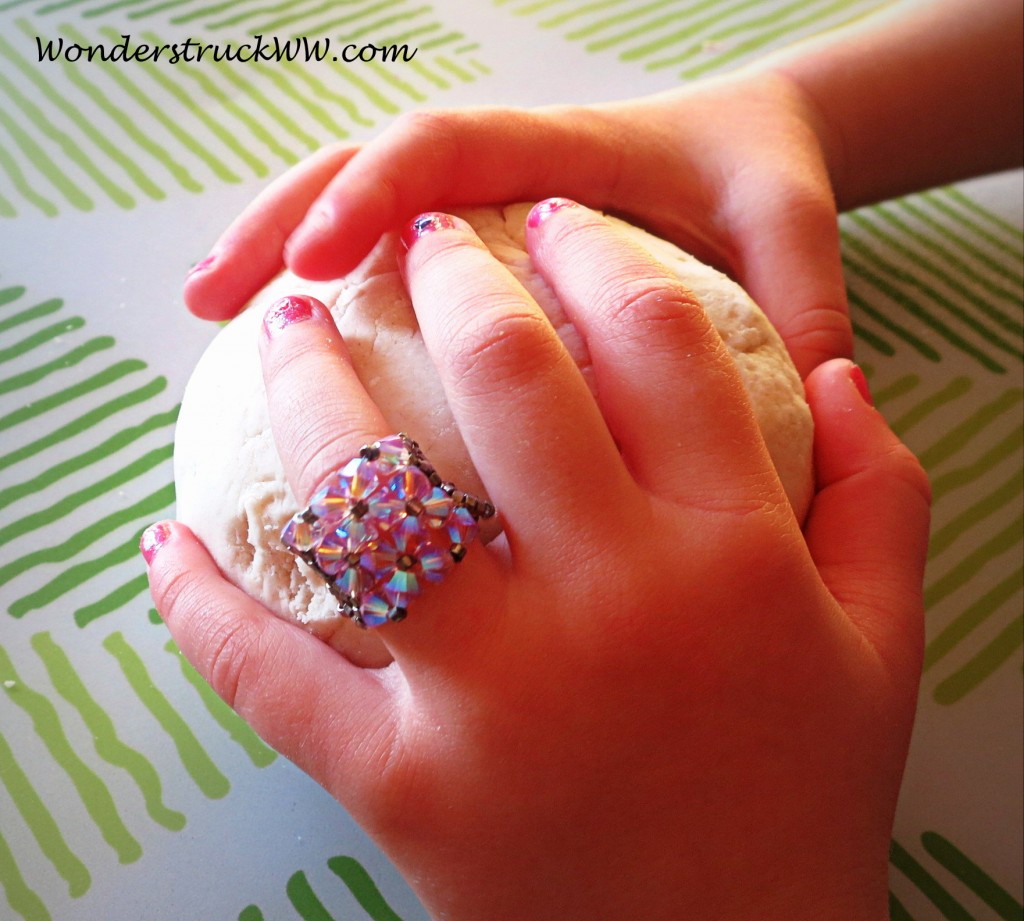
Give the ingredients a good mix and knead the dough.
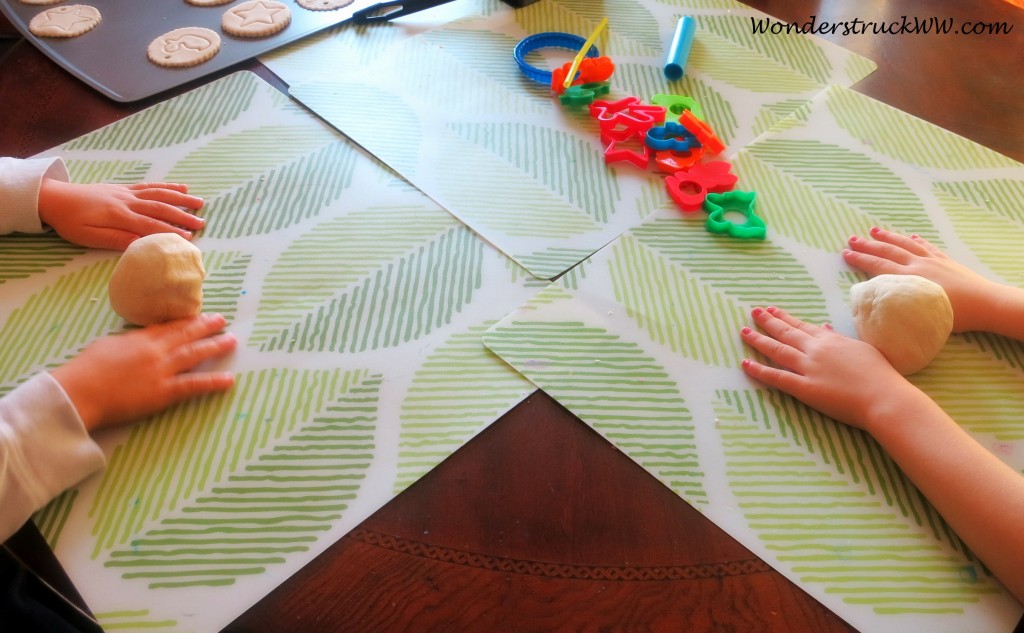
Divide the dough up so each child has an equal amount to work with.
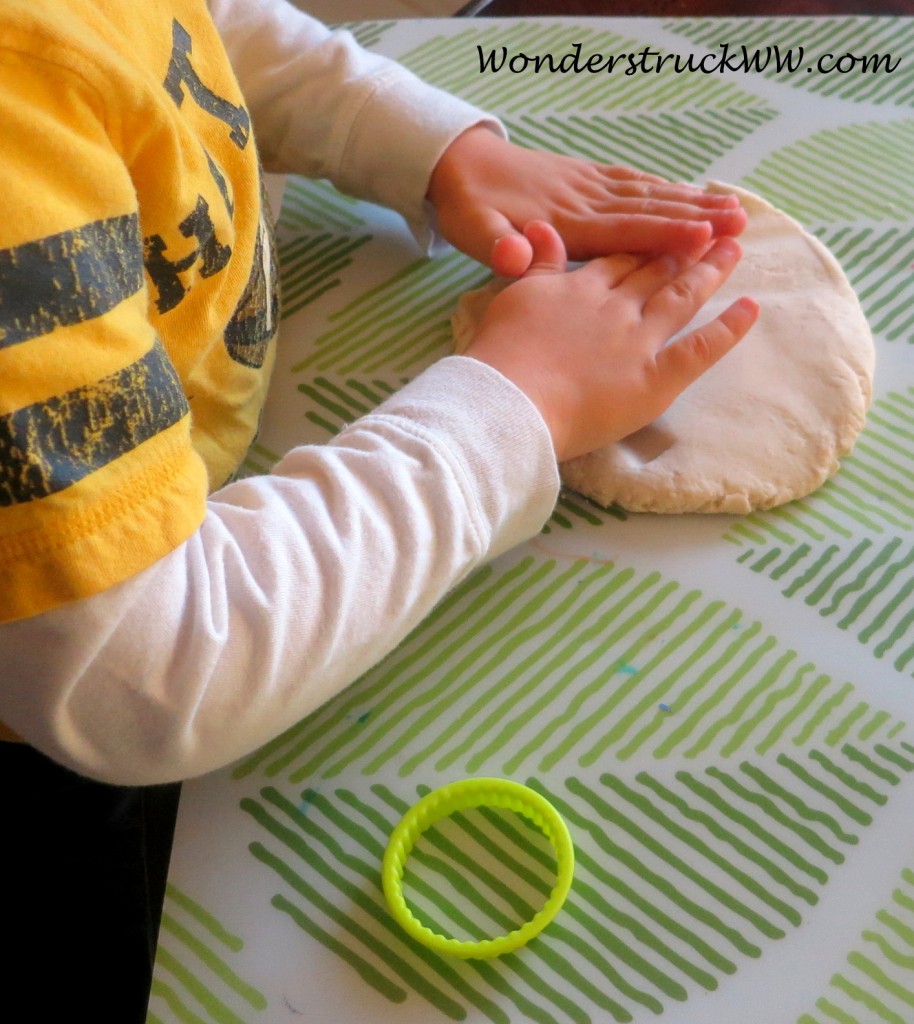
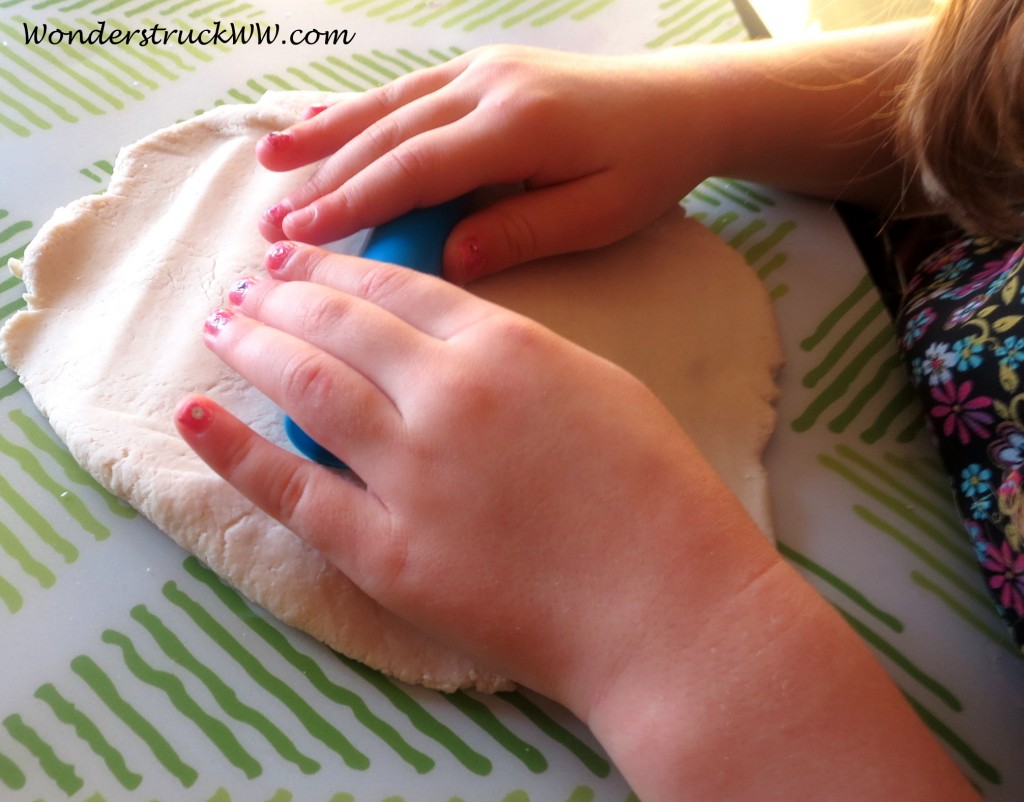
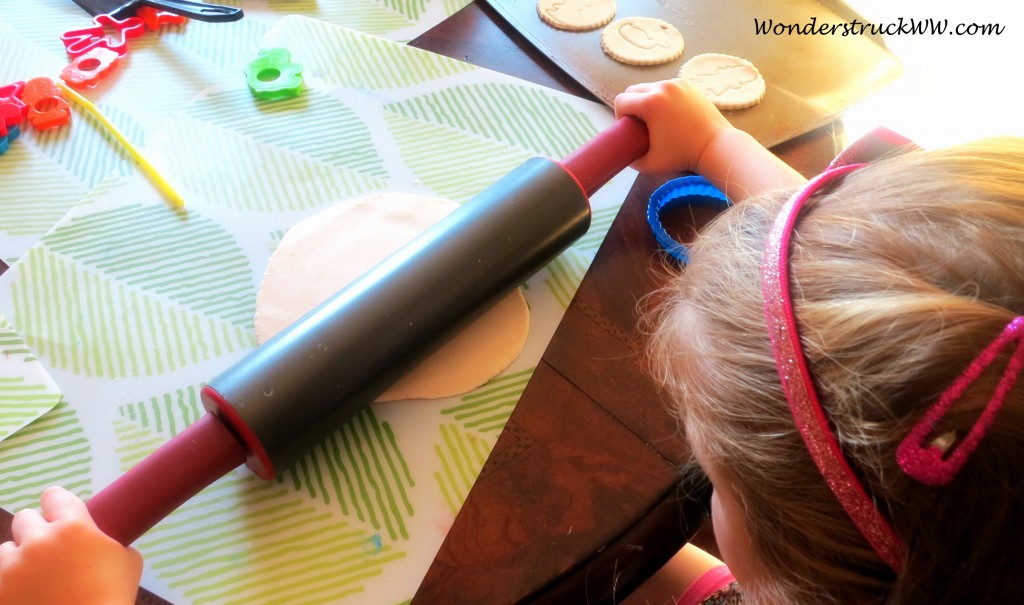
Roll the salt dough until it’s about 1/4 inch thick. I let my children roll out the dough with their plastic rollers, but I finished rolling the dough for them with my heavier rolling pin. They weren’t quite strong enough to get the dough as flat as it needed to be.
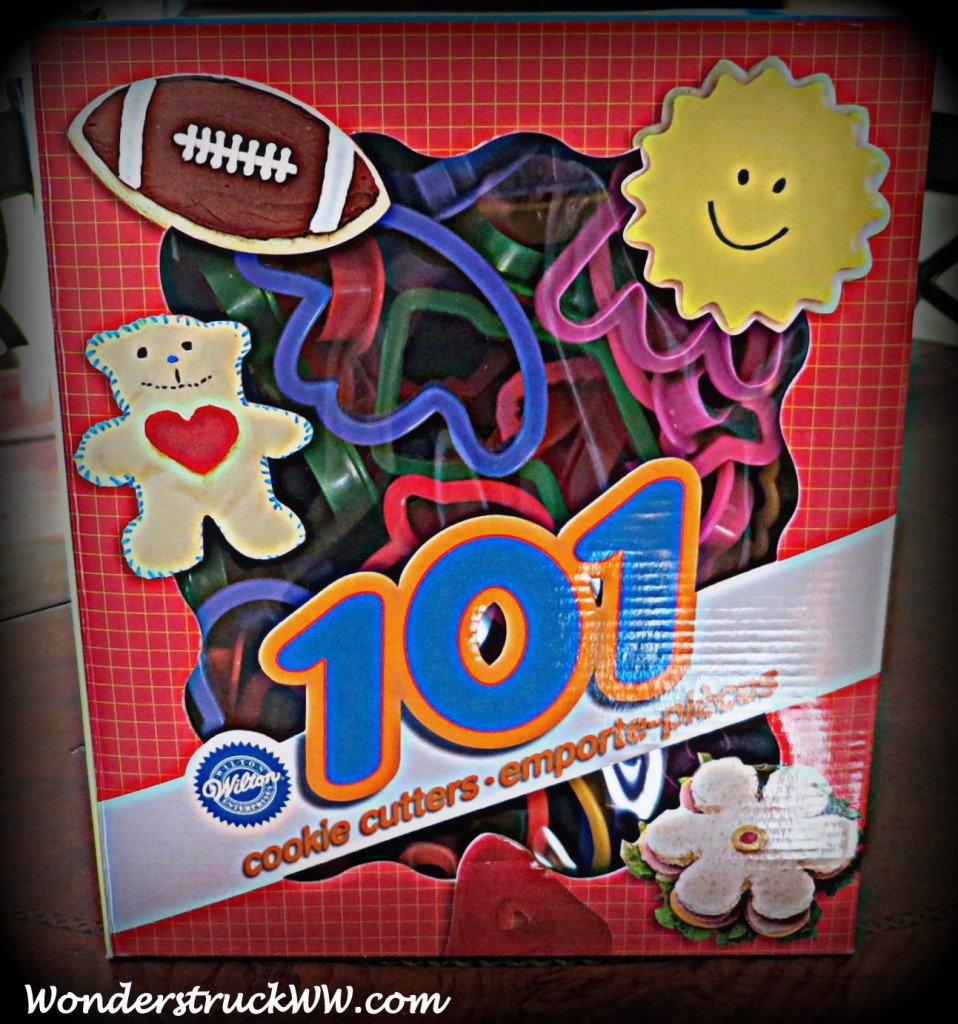
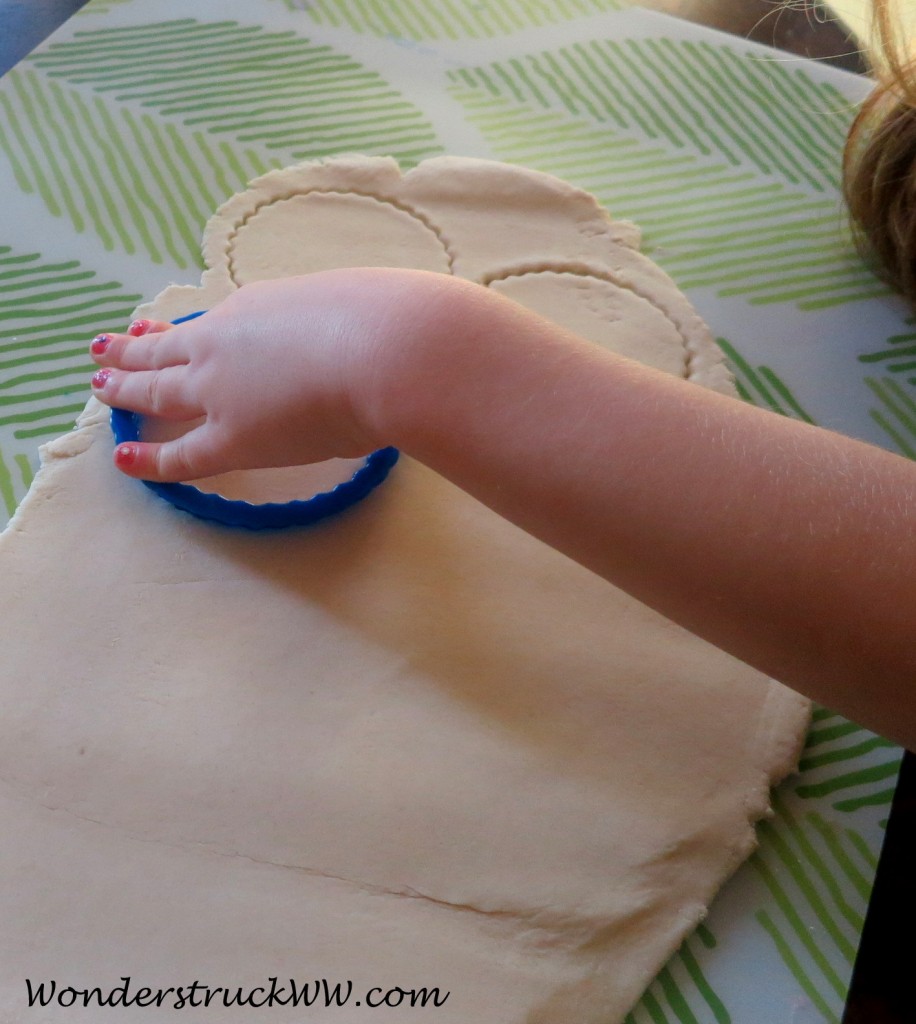
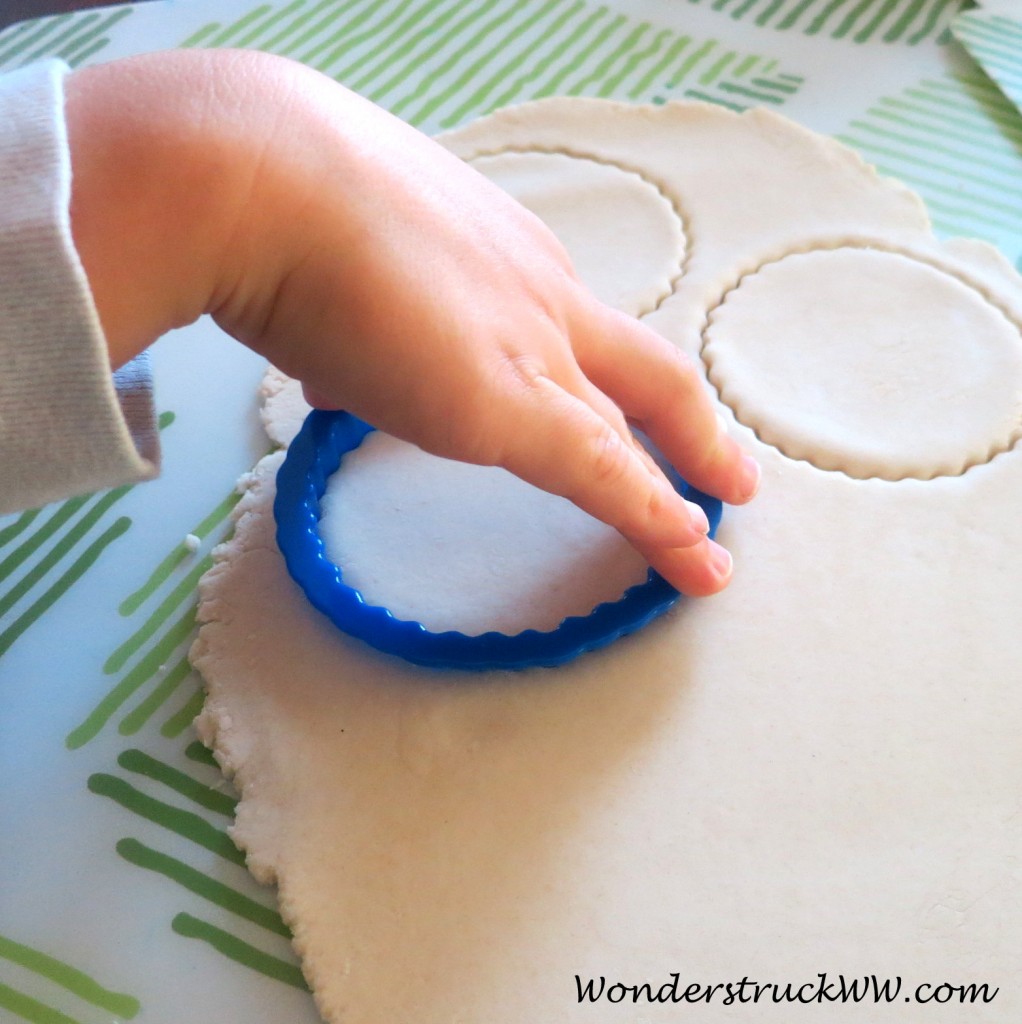
You will need a round cookie cutter. I used a round cookie cutter from my 101 Wilton Cookie Cutter Set. I LOVE this set! There are shapes for every season and plenty of sizes to choose from. This set runs between $10.00 and $15.00 dollars, depending on what store you purchase it from. I’m a coupon girl …. every little bit of savings helps, so I recommend purchasing it from a store that accepts coupons. If you are able to use a 40% off or a 50% off coupon, you’ll snag a pretty good deal!
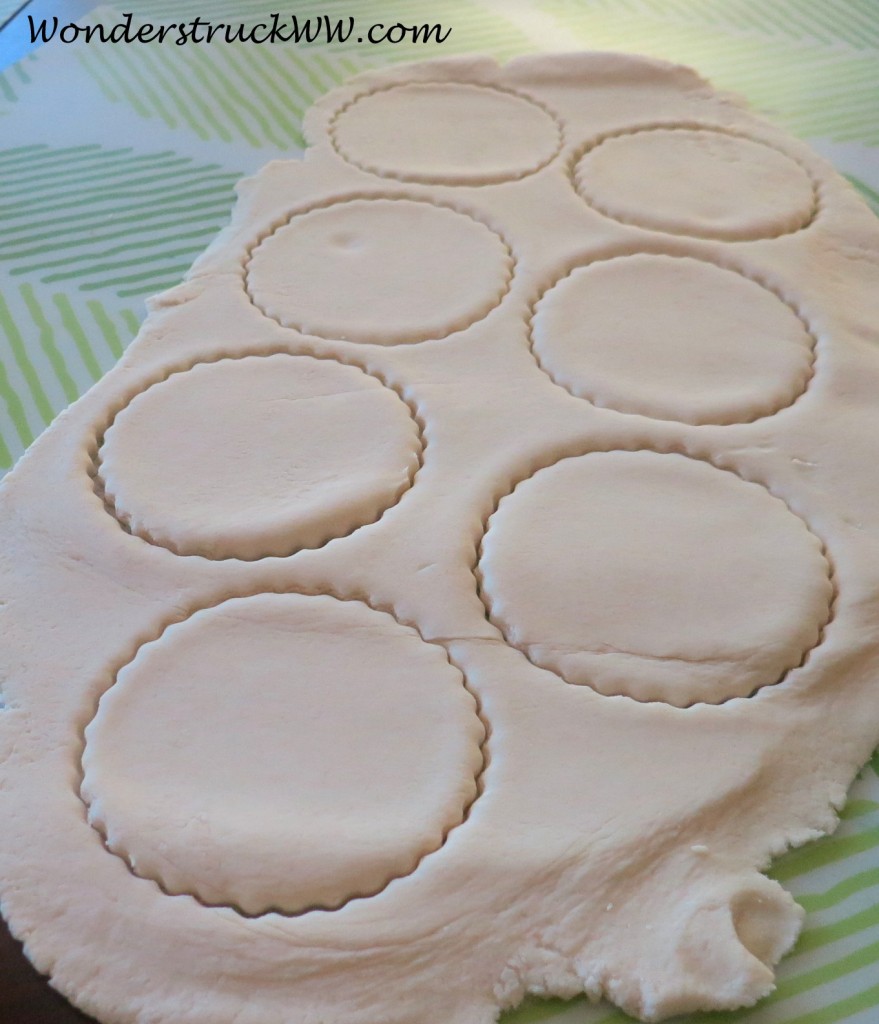
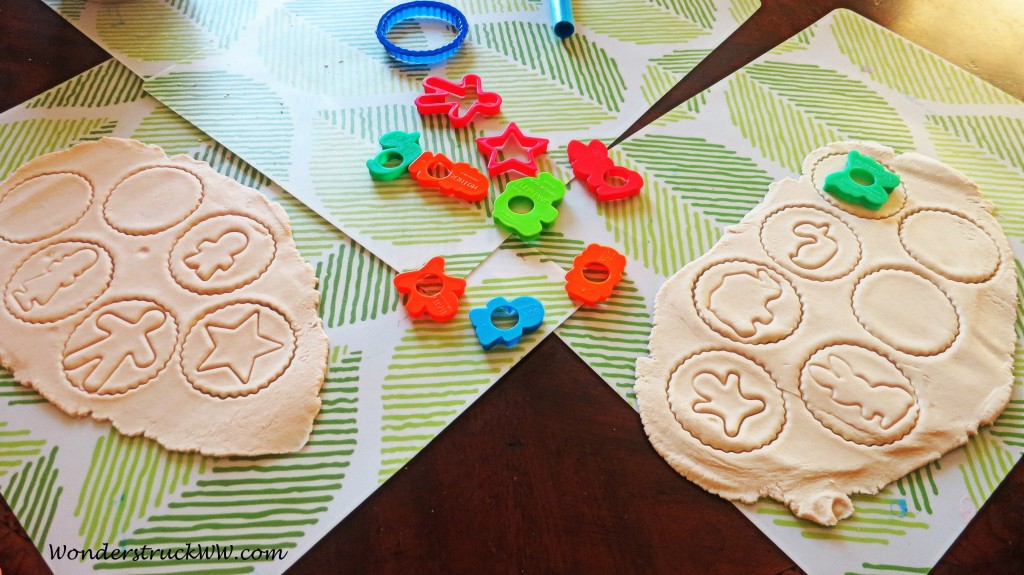
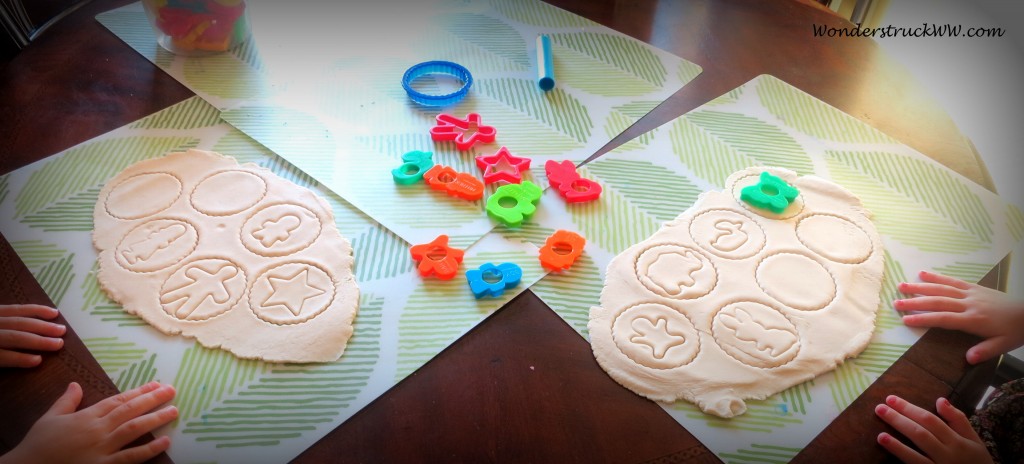
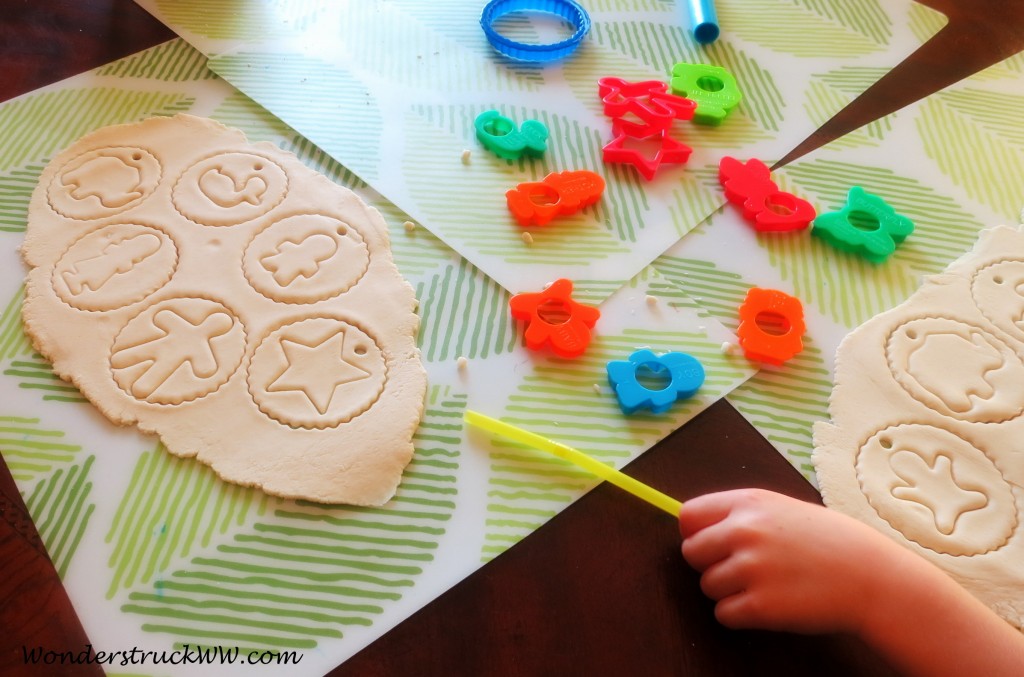
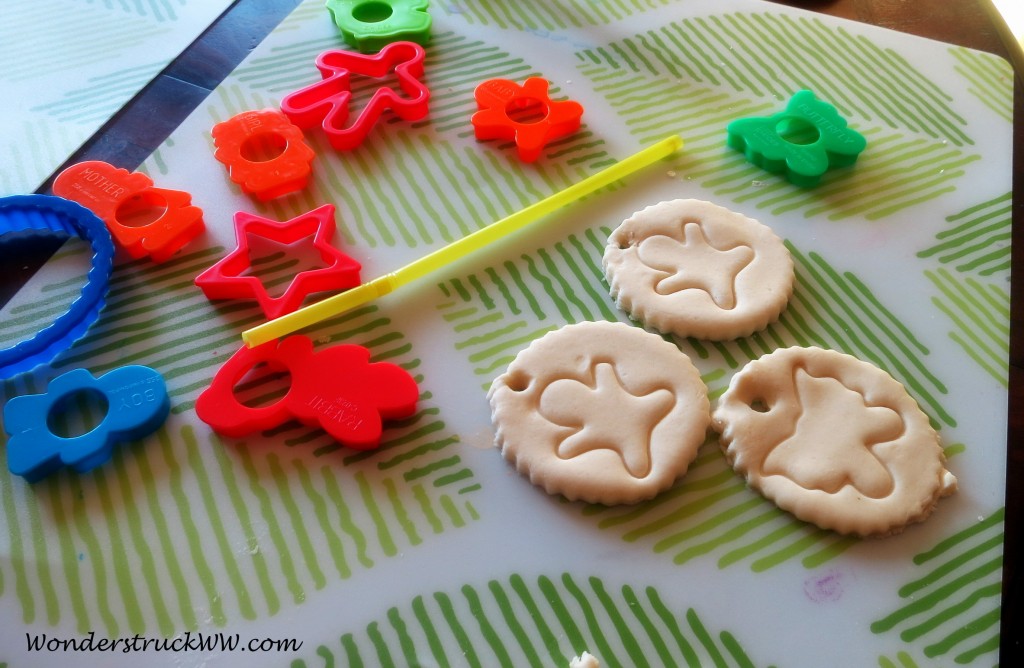
Choose a large enough circle so that your children will be able to make indentations with smaller cookie cutters/shapes inside the circle.
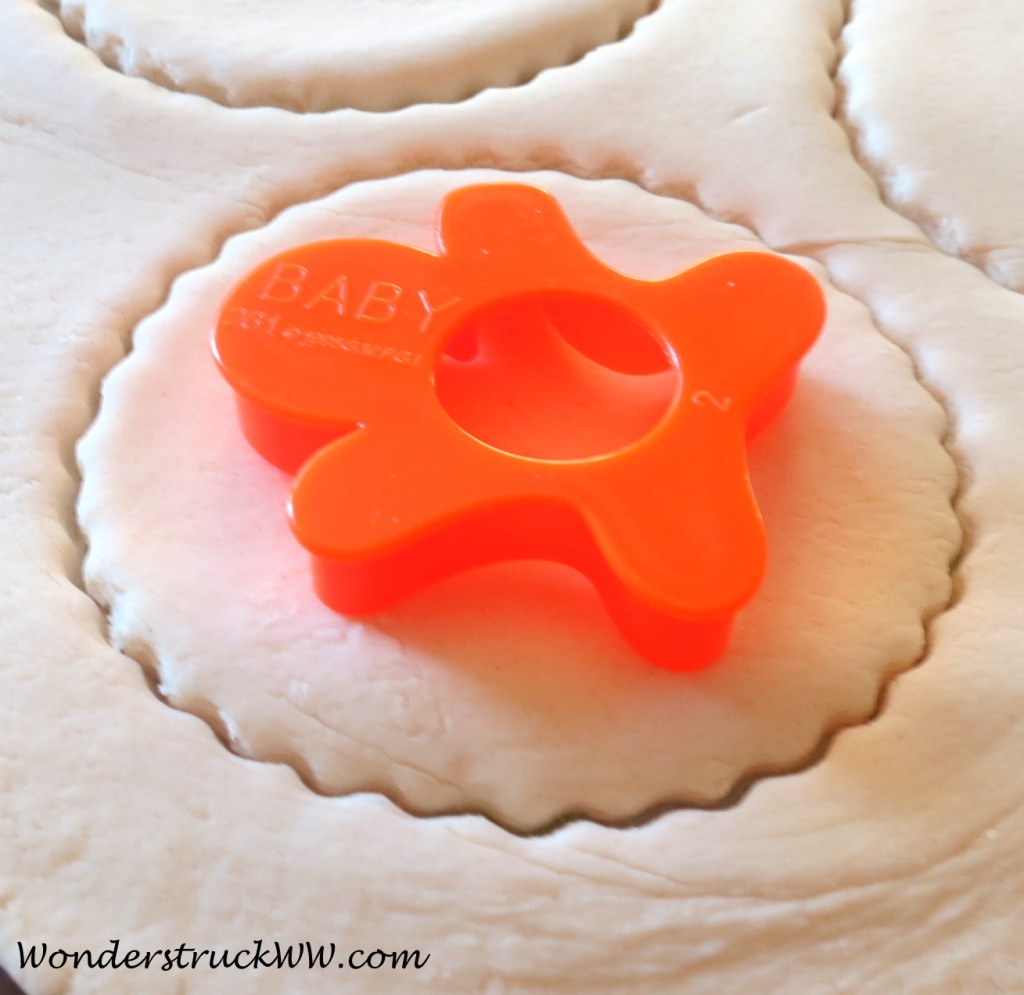
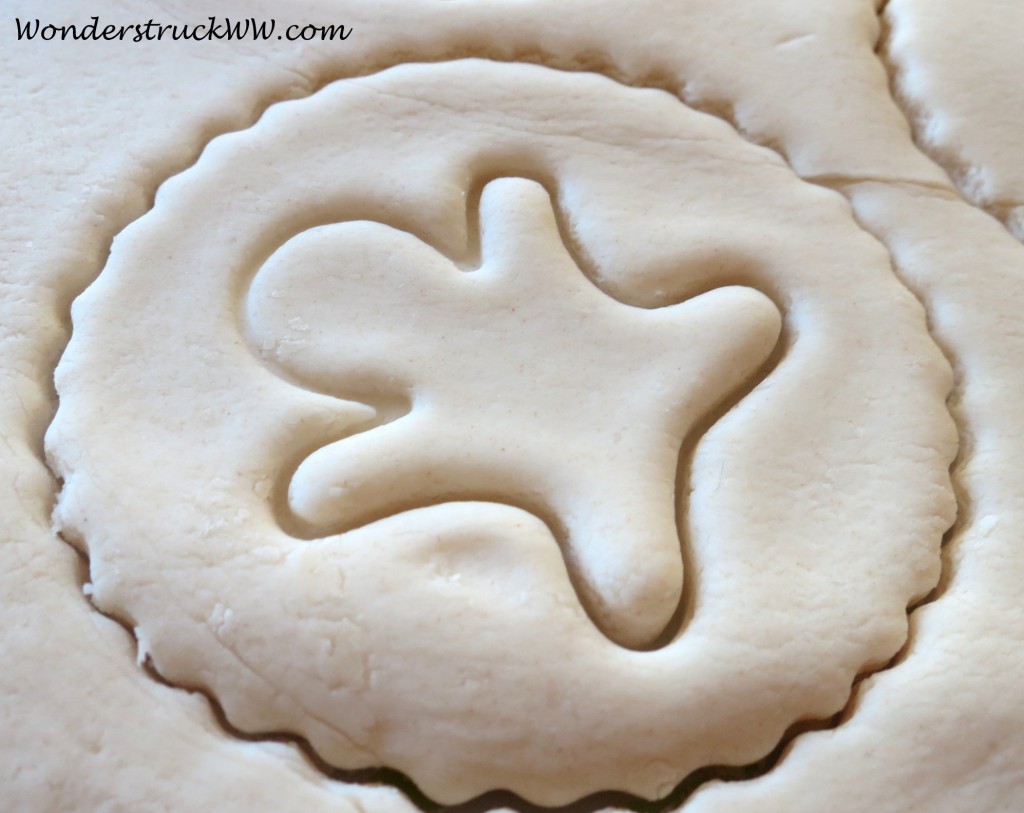
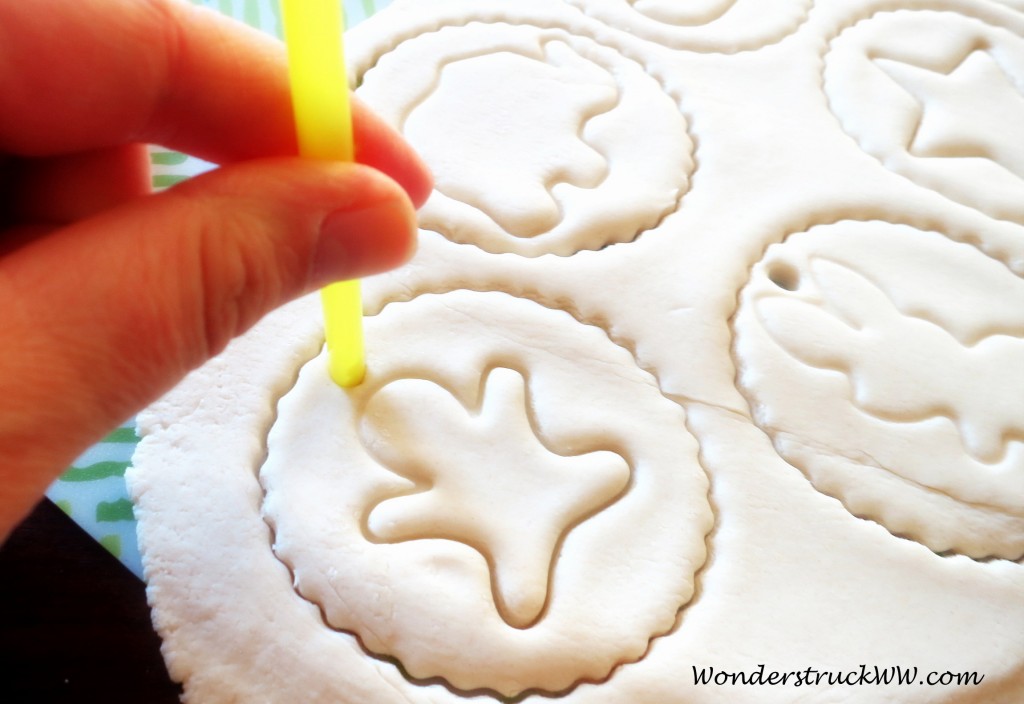
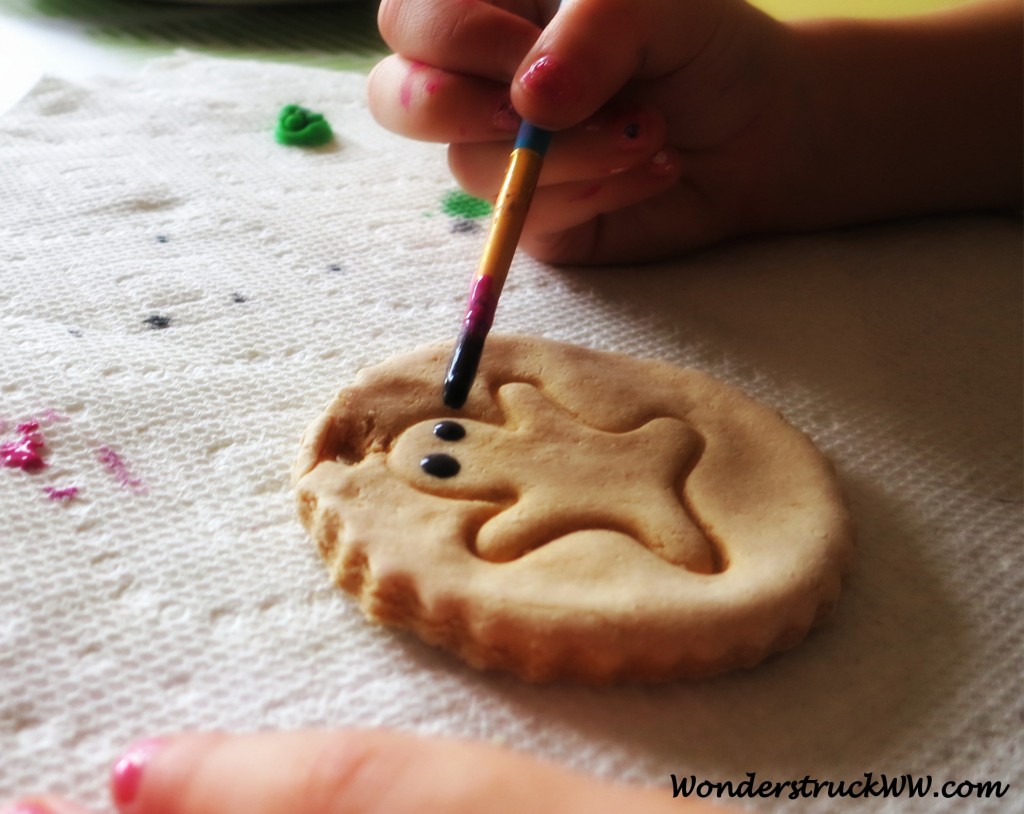
We used shapes from my children’s Play-Doh Activity Bucket to make indentations inside the circles and it worked nicely! Do not push all the way through! You just want to apply enough pressure so the shape makes an impression. This will give the kids something to decorate/paint.
A plastic straw works nicely for creating holes so the ornaments can hang from twine, string or ribbon after baking.
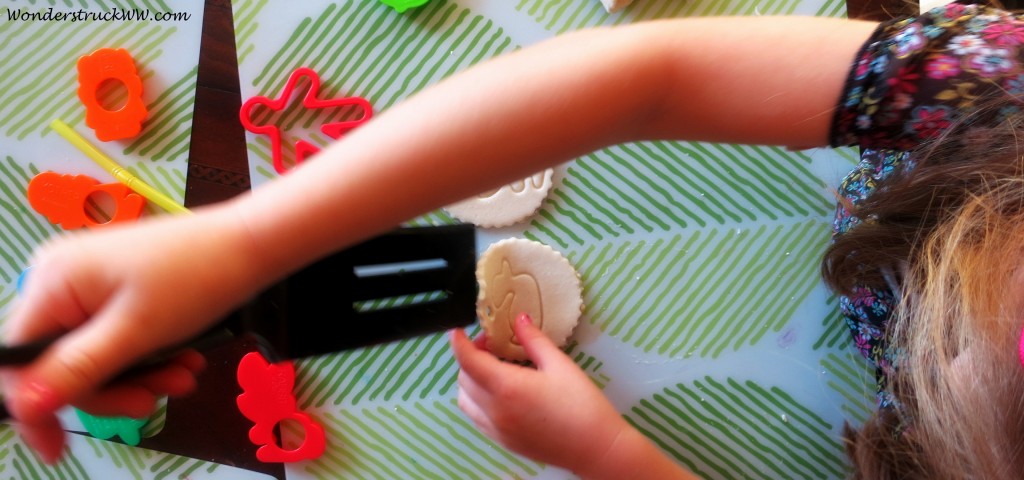
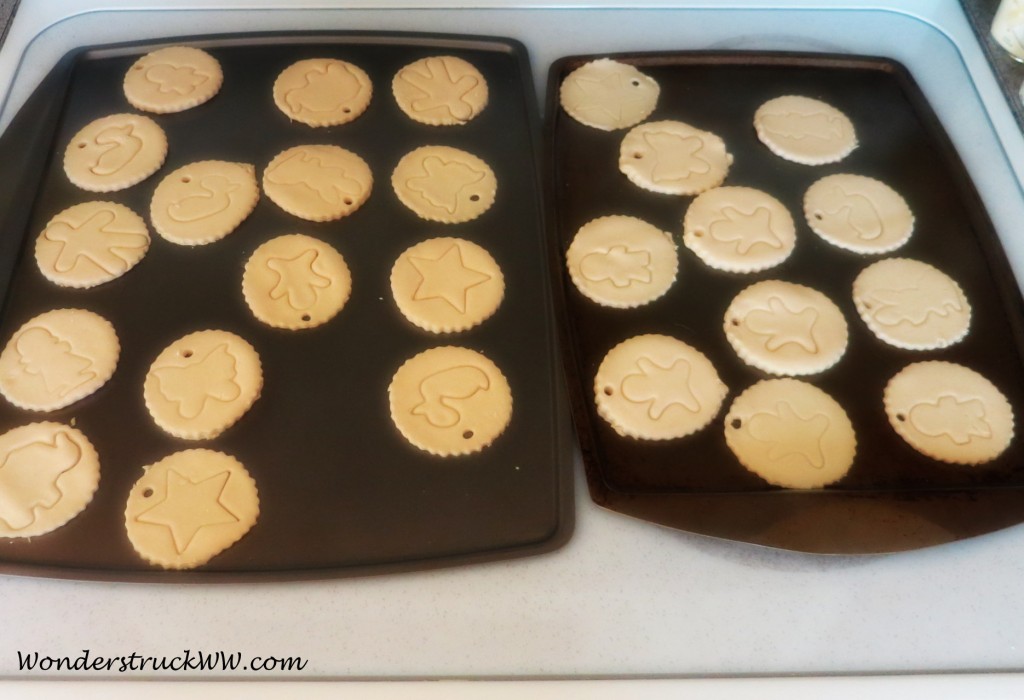
Gently remove the dough around each ornament and transfer to a baking sheet using a spatula.
Your kids will be excited to know that they can use the dough scraps to make even more ornaments. 🙂
Once all of the ornaments have been created and transferred to baking sheets, bake in a 250 degree oven for about 2 hours.
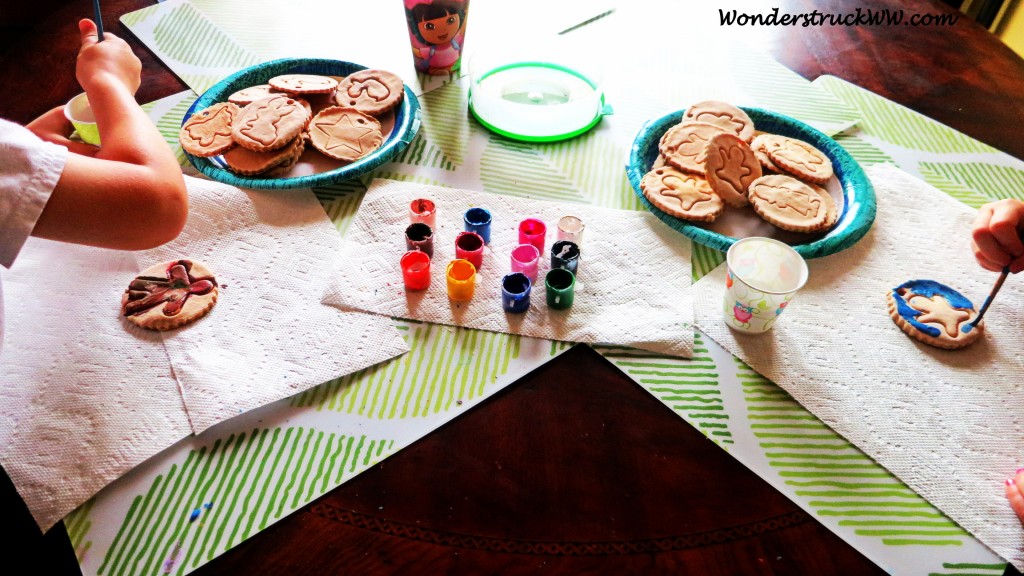
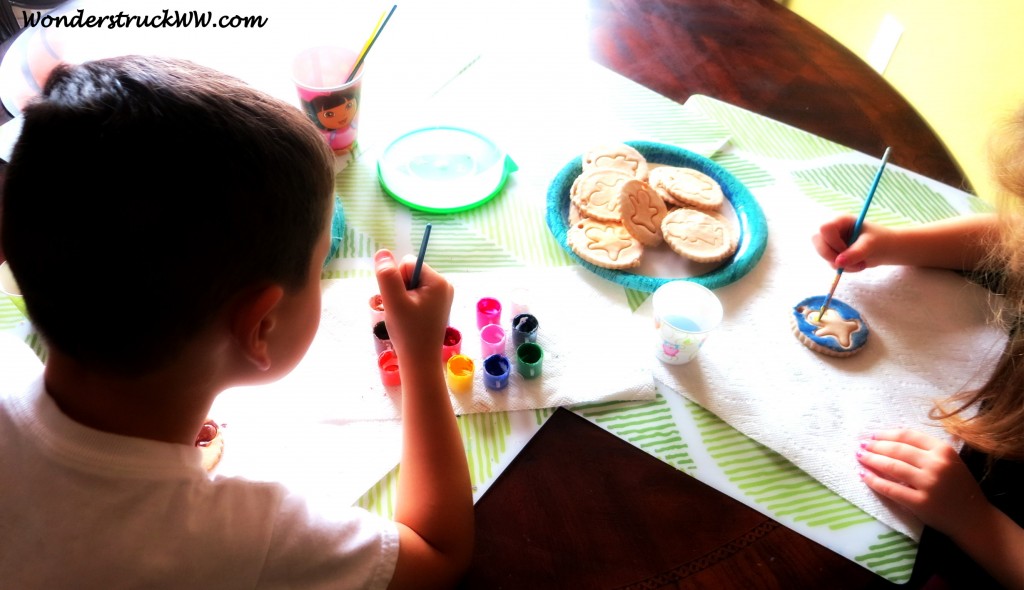
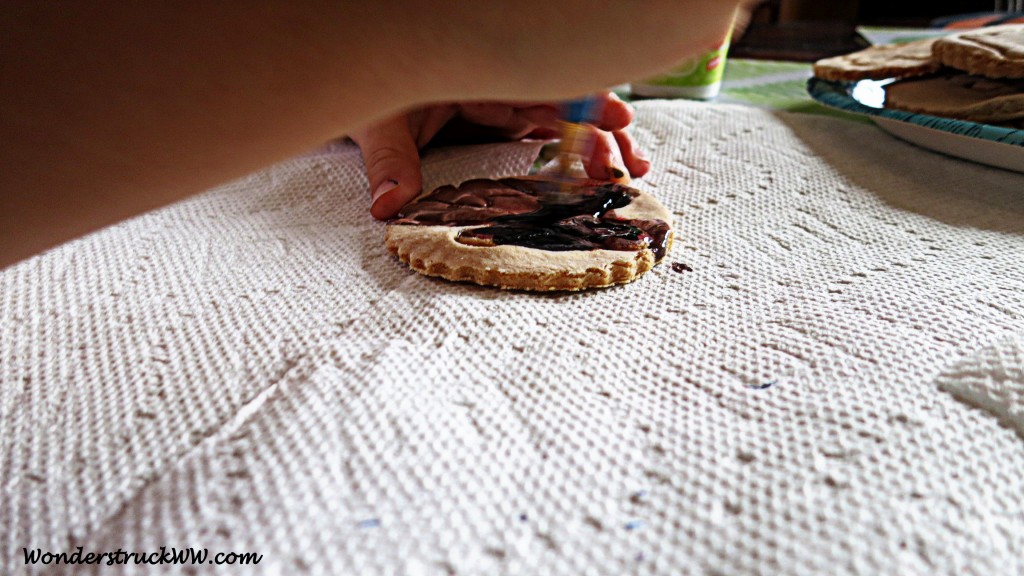
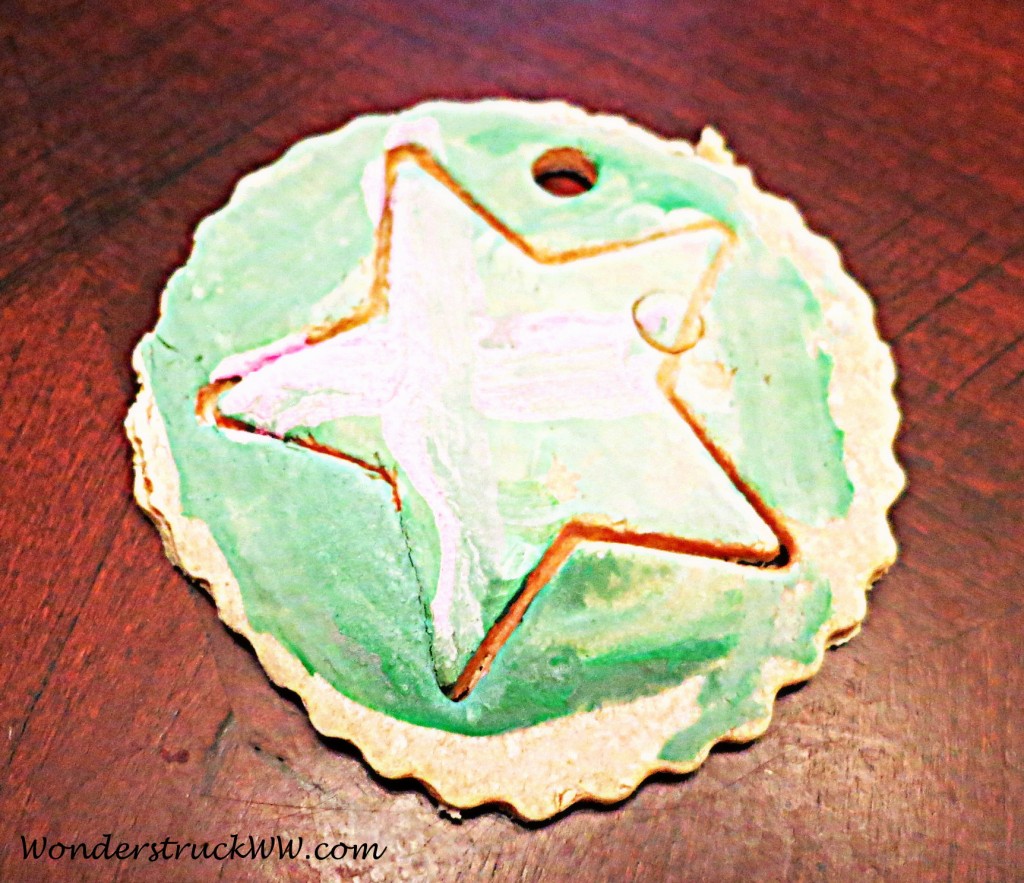
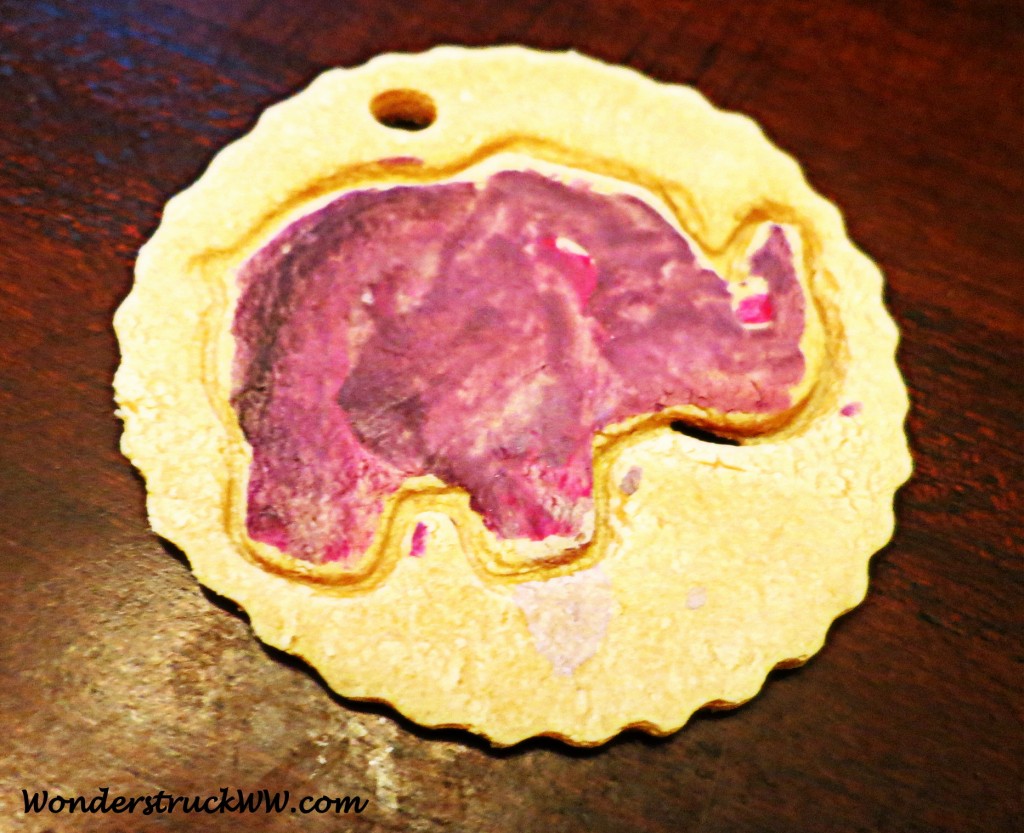
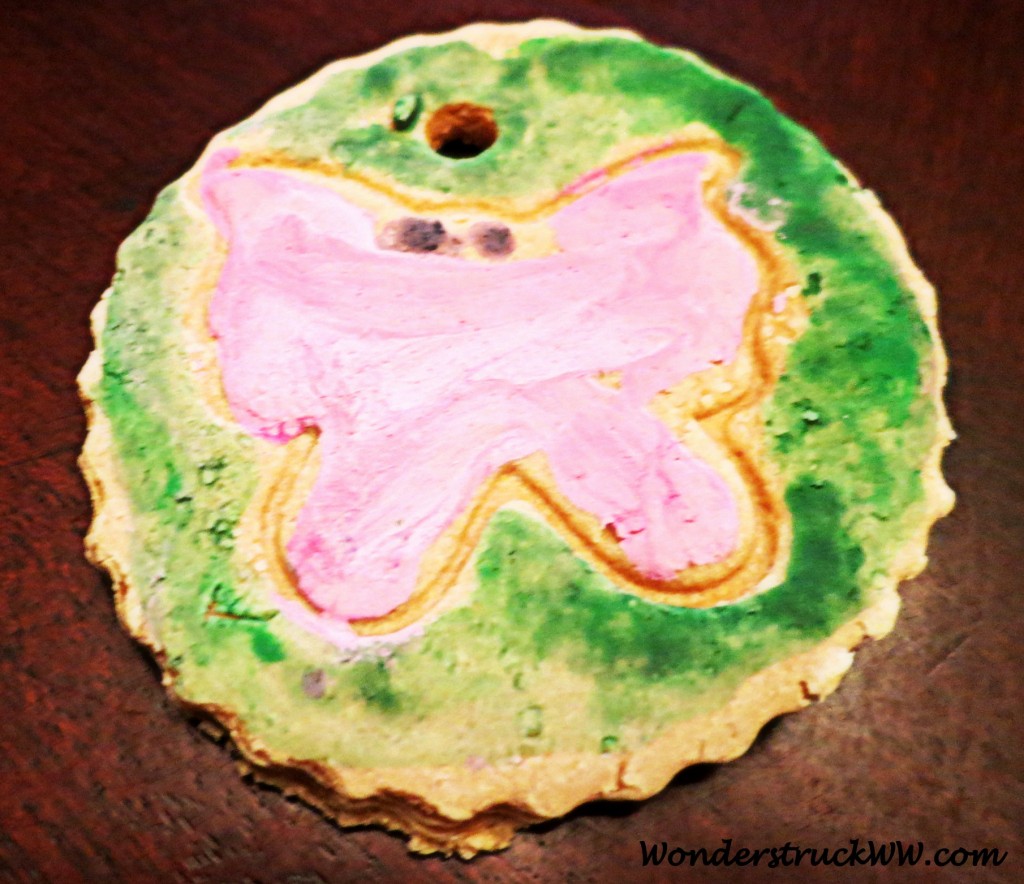
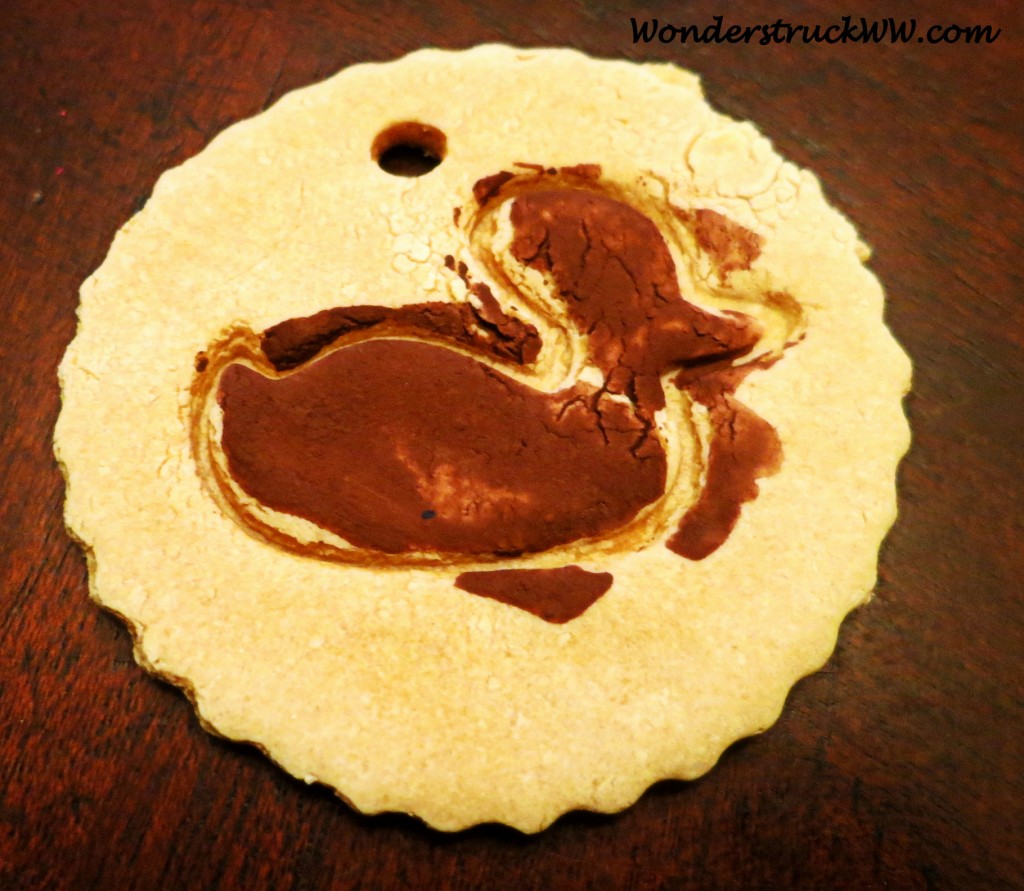
Once the ornaments have finished baking, let them cool before decorating/painting. Please note: 2 hours is a long time for a child to wait. You will probably hear “Are the ornaments ready to paint? Can we paint the ornaments?” about 7 billion times. 🙂 It was finally time to paint the ornaments. We used paint that we already had on hand that I purchased from a craft store. Most of it was gone, so I cannot wait to do this again so my kids have more paint colors to choose from.
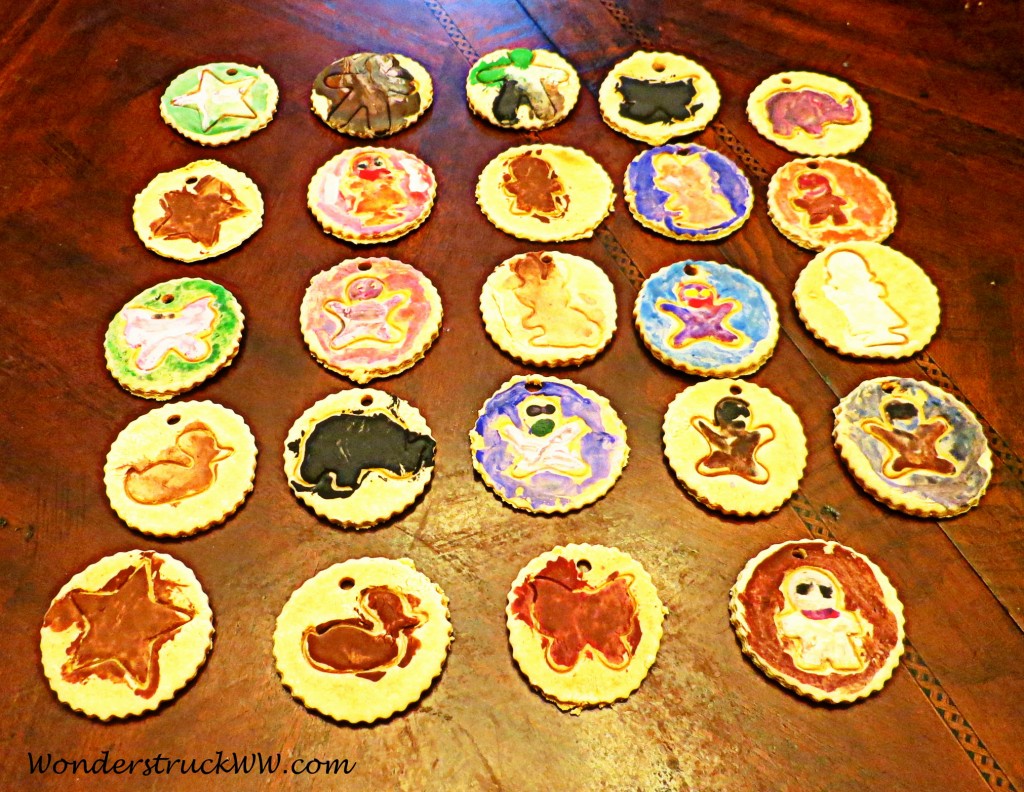
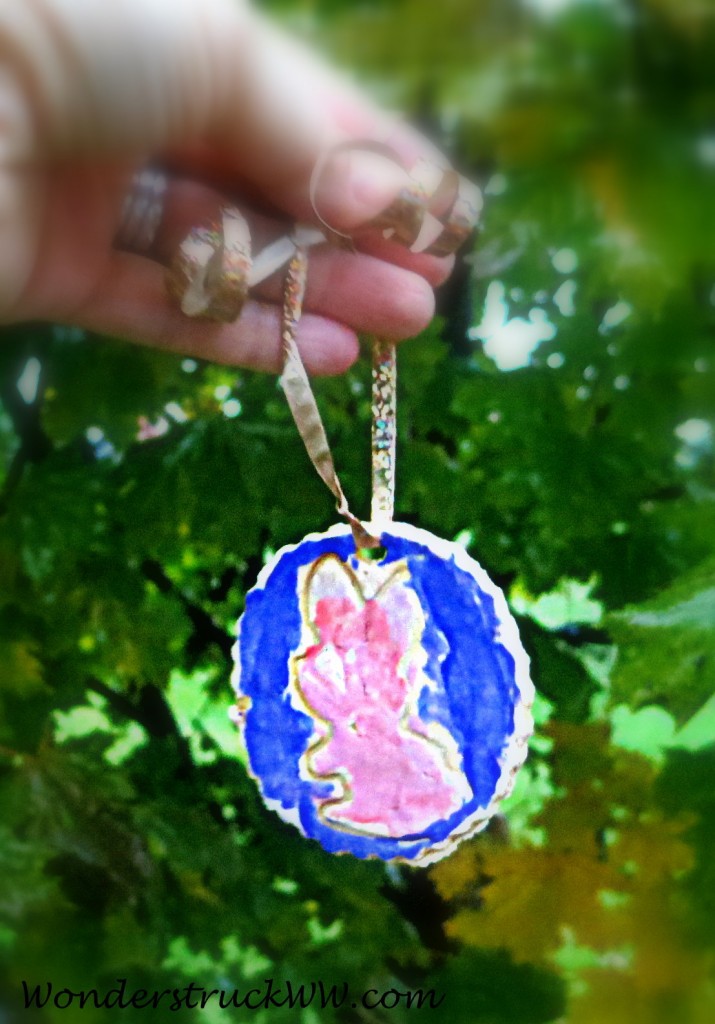
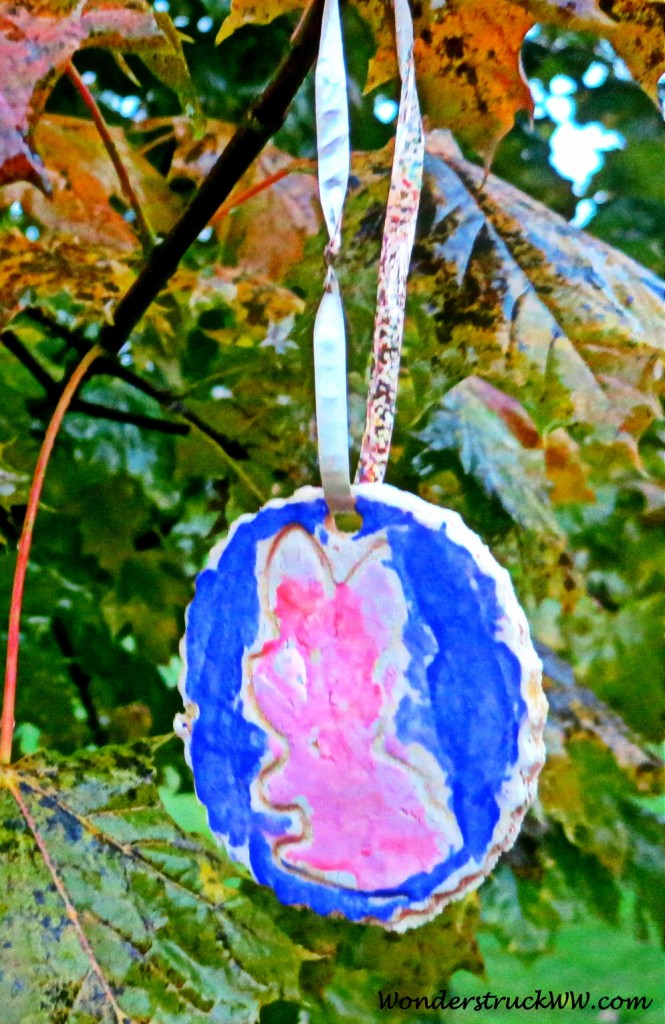
Here are the finished ornaments. So cute! We will definitely be creating more of these in the future. My kids loved every second. It will be fun to create some seasonal ornaments with them. The nice part about this project is there is a 2 hour break. After making the dough and cutting out the ornaments, they were a little more content than usual, ahem, and I was able to get some cleaning done, lunch made and laundry folded while the ornaments were baking. I did hear 7 billion questions/comments, but that’s ok. 🙂 I was happy and excited that my kids were so excited for the next step!
You can use twine, string, jute or ribbon to create loops for your ornaments. I used curling ribbon.
You can make single ornaments.
You can also create banners too.
I must tell you about the sign on my fireplace mantel. I found it on Mackinaw Island, when I was vacationing this past summer with my family. It matched my décor perfectly and I LOVED the saying, I could not leave without it. It is so true. Life can be crazy at times; a huge juggling act! I am sure at one point or another, we all feel like we are being pulled in 50 different directions. Kids can be cranky, adorable, persistent, beautiful, a lot of work, sweet, loud, amazing. Life is busy, hard and beautiful. When I am having “one of those days” (we all have them from time to time, you know what I mean, right?) I love looking up at this sign, front and center, in our living space. It brings me right back to the foundation of where it all began: All Because Two People Fell In Love. It stops me dead in my tracks and makes me chuckle, and then I appreciate the craziness, if that makes sense.
I hope you enjoyed this post! Let me know if you make Salt Dough Ornaments with your kids. If you would like to share photos of your creations, you are more than welcome to post them on my Facebook Page. I would love to see them!!
If you would like to receive all my posts directly in your inbox, you may subscribe to my blog on the right side of this page. It’s free! 🙂
Until next time, happy crafting with your kids!
Colette
